Early Spring Soil Preparation for High Yields
Preparing the soil in early spring sets the stage for a productive vegetable garden. The period between the last frost and the first active growth of plants is an opportune time to assess and improve soil conditions. Understanding the current state of your soil—its texture, nutrient levels, and pH—allows for targeted amendments that support healthy plant development. This article outlines a systematic approach to soil testing and amendment, presenting methods that gardeners can adapt to their specific needs.
The concept of “high yields” is not an absolute guarantee but rather a goal influenced by many factors: the selection of plant varieties, weather patterns, and consistent care throughout the season. Soil preparation is one of the many components that can contribute to a successful garden. By focusing on the soil’s physical and chemical properties, you are taking steps to create a favorable environment for roots to thrive.
GreenSprout Advisors, a resource for gardening guidance, emphasizes the importance of informed decision-making in garden management. The following process is designed to help you understand and improve your soil in a way that aligns with the principles of sustainable and effective gardening.
Understanding Your Soil’s Baseline
Before making any changes, it is essential to know what you are working with. Soil varies greatly from one region to another, and even within a single yard, conditions can differ. A soil test provides a snapshot of key parameters: pH level, macronutrient concentrations (nitrogen, phosphorus, potassium), and organic matter percentage. Many local cooperative extension services offer soil testing for a nominal fee; alternatively, home testing kits are available for basic analysis.
Collecting a representative soil sample is a straightforward procedure, but it requires attention to detail. Using a clean trowel or soil probe, take cores from multiple spots across the garden, at a depth of about 6 inches. Combine these samples in a clean container, removing any stones, roots, or debris. For an accurate reading, allow the sample to air-dry at room temperature before sending it to a lab or testing it yourself.
The results of the soil test will guide your amendment strategy. For example, a pH below 6.0 might indicate acidity, which could be adjusted with lime, while a pH above 7.5 suggests alkalinity, for which sulfur might be used. However, adjusting pH is rarely an immediate fix; it can take months for amendments to react. Knowing the starting point helps you plan for the current season and beyond.
In addition to chemical tests, a simple physical assessment can be informative. Squeeze a handful of moist soil to see if it forms a ball and whether it crumbles easily. Sandy soils drain quickly but may not hold nutrients well, while clay soils retain water and can be more prone to compaction. Loamy soils, a mixture of sand, silt, and clay, are often desired for their balance. Observing these characteristics helps you adapt your watering and cultivating practices as well.
Interpreting Soil Test Results
Once you have the results, it is important to interpret them correctly. Soil tests typically list levels of essential nutrients, along with recommendations for adjustments. For phosphorus and potassium, the results often fall into ranges like “low,” “medium,” or “high.” A nutrient that is already abundant does not need additional amendment; adding more can lead to imbalances or environmental issues.
Nitrogen is more dynamic in the soil, and standard tests may not give a reliable indication of its availability because it changes rapidly. Instead, focus on organic matter management, as nitrogen is released through decomposition of organic materials. Working with compost and other organic amendments supports a gradual supply of nitrogen that aligns with plant uptake.
If the test indicates a deficiency, you can select from various amendments, both organic and synthetic. For instance, bone meal (a source of phosphorus) or greensand (for potassium) are options for organic approaches. Always follow application rates from the test report or packaged guidelines to avoid over-application. It is wise to incorporate these materials into the top few inches of soil, where most root activity occurs.
Understanding the results also involves recognizing the regional context. In the United States, for instance, soil conditions vary widely: acidic soils are common in the East, while alkaline soils are found in arid western regions. A successful strategy considers local characteristics and the needs of the vegetable types you intend to grow. For example, blueberries require acidic conditions (pH 4.5-5.5), whereas asparagus prefers a more alkaline soil (pH 7.0-8.0).
Amending Soil for Structure and Fertility
Improving soil structure is as crucial as adjusting its chemical makeup. Physical properties affect root penetration, water infiltration, and aeration. One of the most effective ways to enhance structure is by adding organic matter, such as compost, well-rotted manure, or leaf mold. Organic matter opens up heavy clay soils, improving drainage, and it increases the water-holding capacity of sandy soils.
When to incorporate organic matter is a matter of temperature and texture. You can work amendments into the soil as soon as it is workable in spring—that is, when a handful of soil crumbles and doesn’t form a sticky ball. This prevents compaction from tilling too early, which can damage soil structure. Spread a 2-3 inch layer of compost over the bed and work it in to a depth of 6-8 inches, using a garden fork or a tiller.
Beyond compost, other amendments serve specific purposes. Gypsum can be used to improve soil structure in clay soils without altering pH. Lime and sulfur adjust pH as mentioned. For nutrients, availability of organic fertilizers, such as blood meal or fish meal, supply nitrogen quickly but need to be watered in. Careful consideration of your soil’s needs will prevent unnecessary inputs.
Another way to enhance fertility and structure is by growing cover crops, also known as green manures, in early spring before planting. Winter rye or vetch, if not already planted, may be seeded as soon as the ground thaws. These plants biomass when incorporated later, contributes organic matter and can also help suppress early-season weeds. In cooler regions, fast-growing crops like oats or mustard can be planted a few weeks before last frost, but allow time for them to establish and then be cut down before they set seed.
“The goal of soil amendment is not to impose a formula, but to respond to the unique conditions of your garden.”
Timing and Techniques for Incorporation
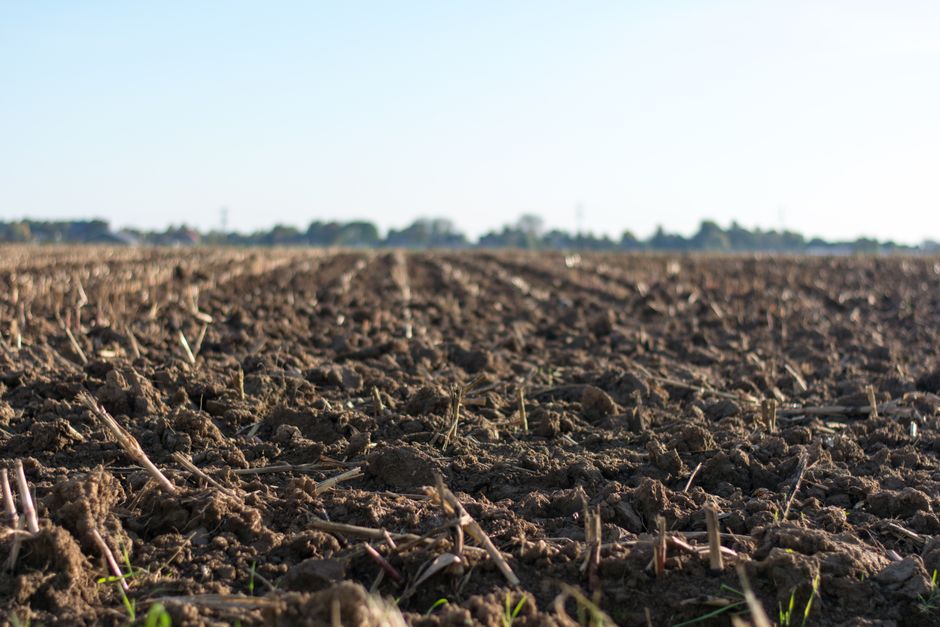
Applying amendments at the right time and in the right manner makes a significant difference. In early spring, the soil often remains cool and wet; working it too early can cause clodding and damage its structure. A simple test: squeeze a ball of soil in your palm; if it remains intact when dropped, it is too wet. Wait until it crumbles easily.
When you do till or dig, consider the depth. Most vegetable roots thrive in the top 6-8 inches of soil, so deeper cultivation is rarely needed for annual crops. Double digging occurs in that depth range may be necessary for new beds, but for established beds, a light cultivation using a fork to break up the surface is often enough to mix in amendments.
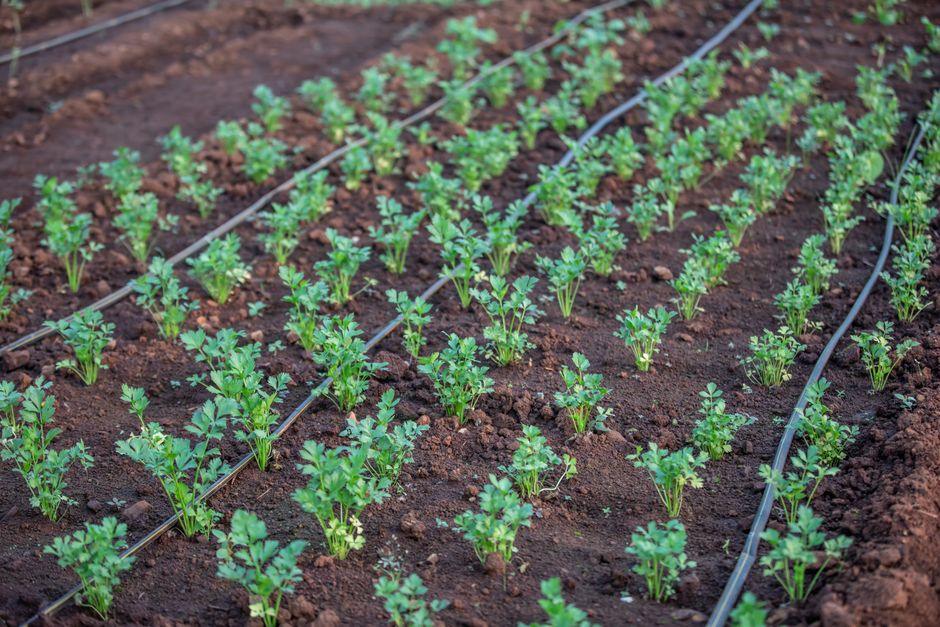
After incorporating dry amendments, water the area lightly to help them settle and begin reacting. This is also a good time to planned irrigation. If you intend to use drip irrigation or soaker hoses, lay them out before planting to avoid disturbing seeds or young seedlings.
Finally, consider using raised beds if compaction is an issue. They allow soil to warm up faster in spring and can provide better drainage. The soil in raised beds may also be amended and mixed more easily, creating a fertile environment conducive to vegetable growth.
Preparing for Planting: Next Steps
Once the soil has been tested, amended, and its structure improved, you are ready to think about planting. However, the preparation does not stop there. Monitoring your soil’s condition throughout the season is essential for long-term health. Periodic checks of moisture levels and visual inspection of plant growth can provide feedback.
Prior to setting out transplants or sowing seeds, rake the bed level to remove any large clods and create a fine seedbed. At this point, some gardeners choose to add a balanced fertilizer according to test recommendations, but avoid excessive nitrogen, which can promote lush foliage at the expense of fruit or root development. A side-dressing of fertilizer a few weeks after planting can be more efficient for crops that need a boost.
Mulching is another beneficial practice after planting. A 2-3 inch layer of organic mulch, such as straw or grass clippings, helps retain soil moisture, moderates soil temperature, and suppresses weeds. As it decomposes, it also adds organic matter to the soil. Ensure that the mulch does not touch plant stems directly, as that can cause rot.
By adopting these practices, you are engaging in a continuous cycle of soil observation and improvement. Each season’s results inform the next year’s adjustments. There are no guarantees in gardening, but a deliberate approach to soil preparation can support the conditions that allow your vegetables to thrive.